What is Val/ Field Beans ?
Field beans are small and relatives of Broad Beans. It's botanical name is Dolichos lablab. They are found and popular in mostly western-southern part of India. They are rich in protein as well as vitamins A, B-complex, C and E, as well as various minerals and enzymes.
They are available in different types like 'Kadave val', 'Gode val', 'Surati val', 'Pavta' etc. You can use any type of this which is available at your place. We use 'kadave val' which is easily available in my place. My place (Pen-Maharastra) is famous for this 'Kadave val'. Kadve val are considered to be superior in quality and taste and are mainly used for making birde.
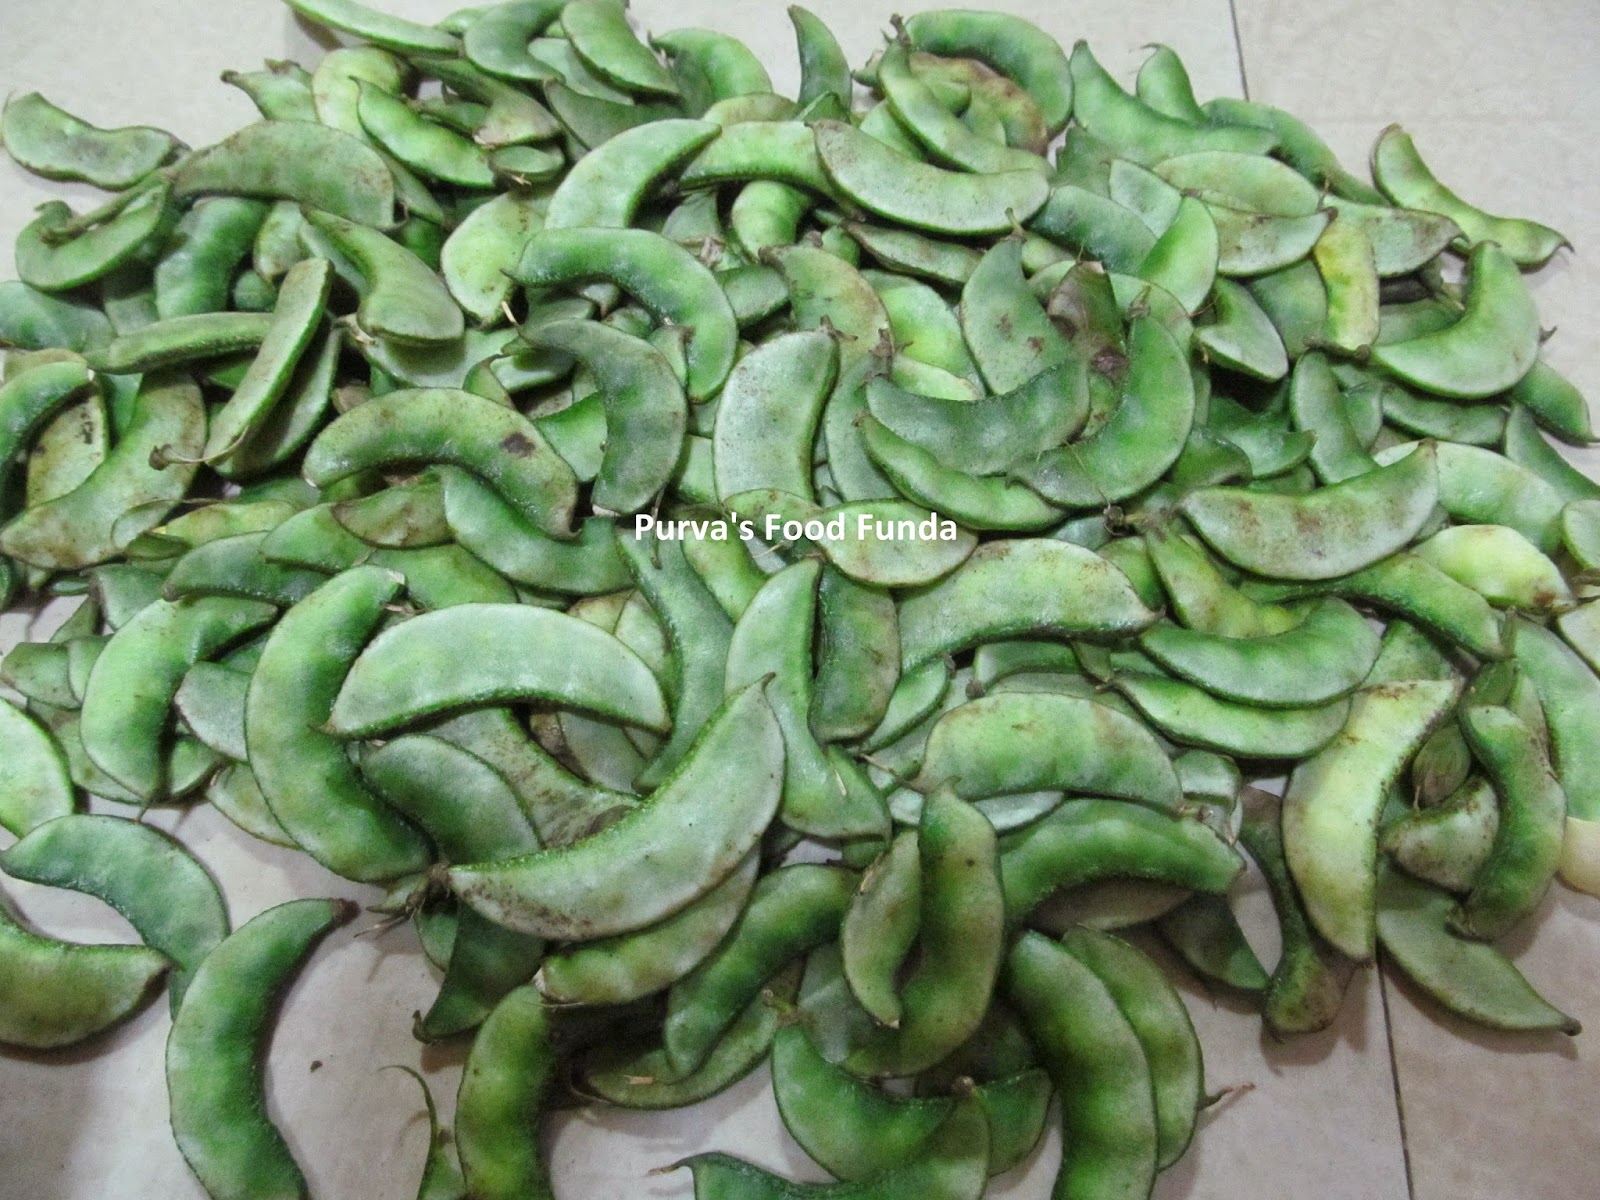
These are pods of val and fresh tender val beans. val beans are mostly use in dried form. but we also use these fresh beans for curry. This curry is also equally tasty. You may use fresh 'Pavta' beans for this curry.
Read this recipe.... Maharashtrian Mix vegetable Curry (click on recipe name to get recipe)
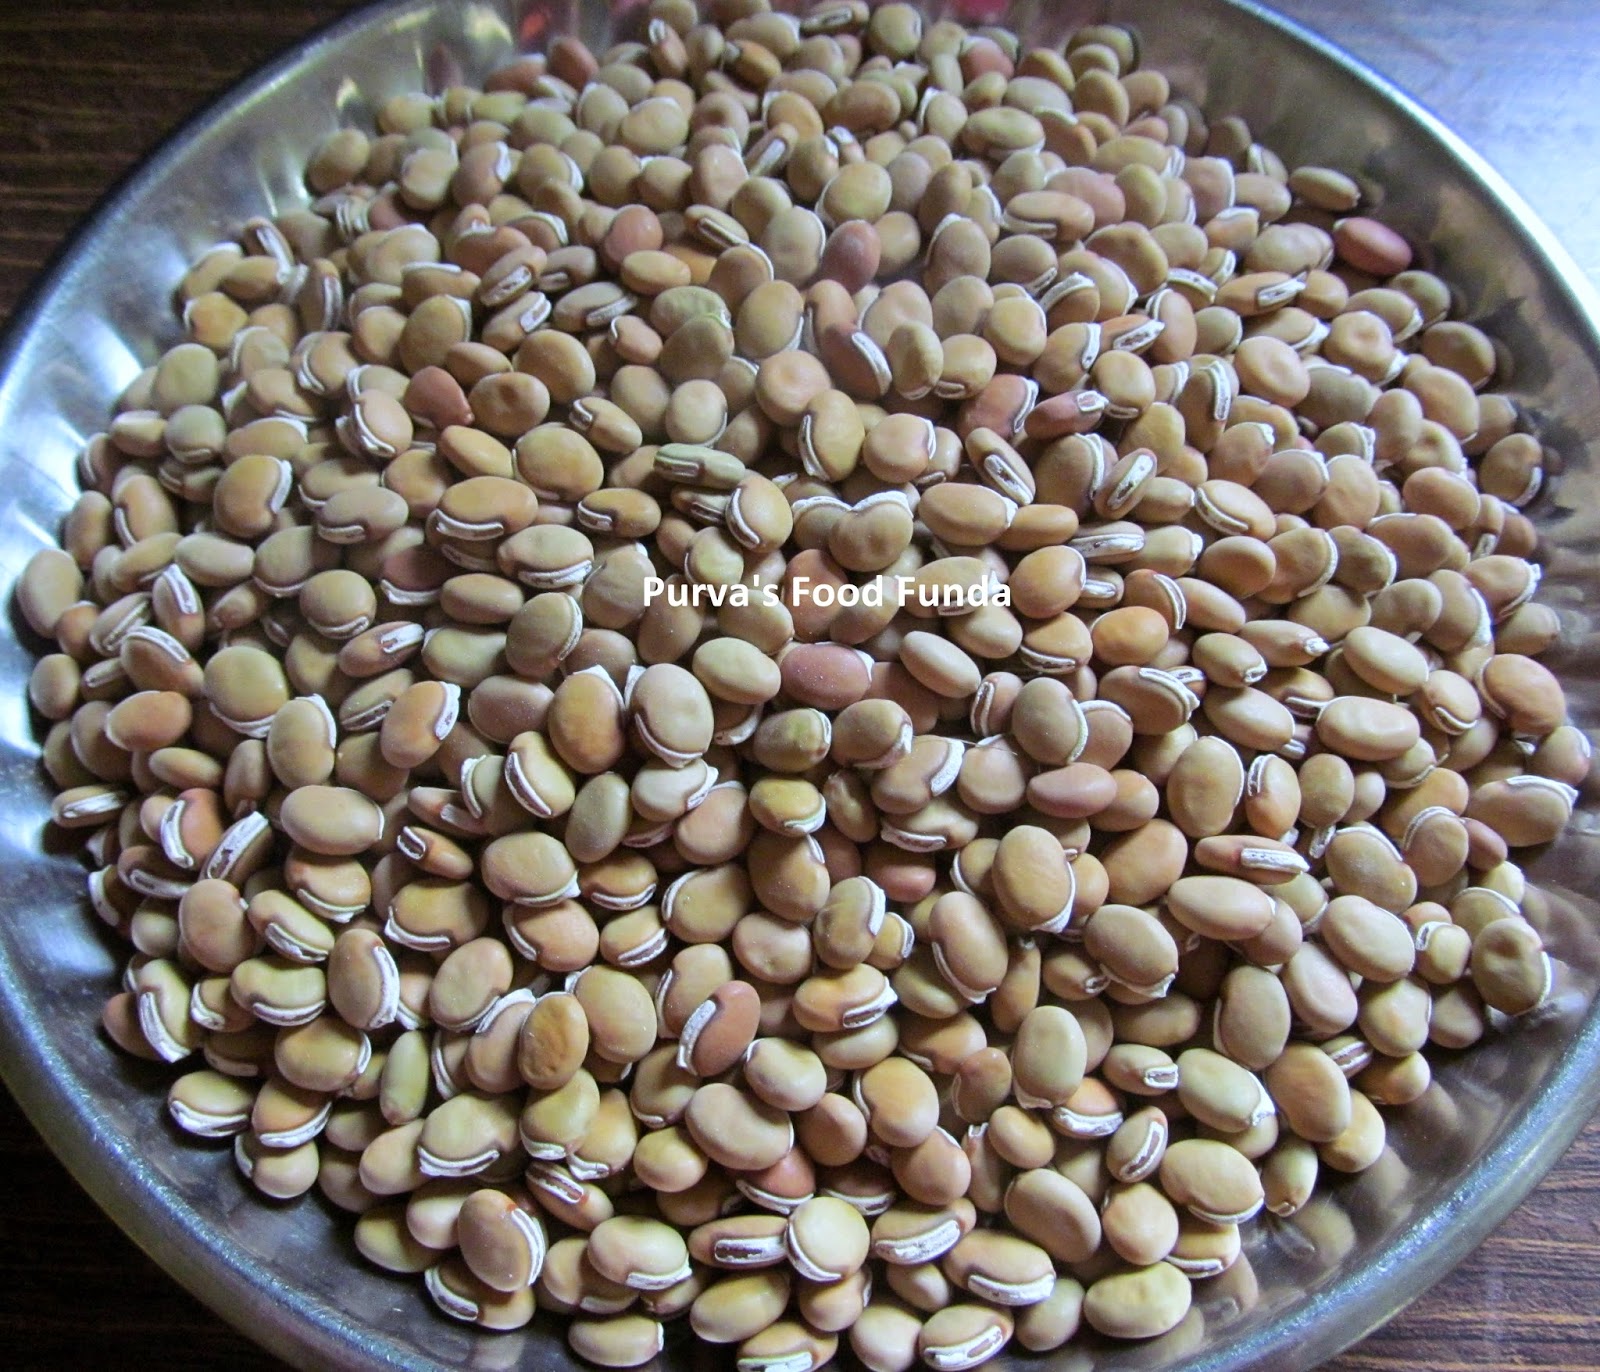
And these are dried val beans.....
Val has a delicate flavour that complements a wide variety of dishes. This beans are used commonly in Maharashtrian kitchens in traditional recipes like Valache Birde, Valachi khichadi, Dalimbichi Usal etc. Birade means sprouted val beans curry. It is made during important occasions and functions.
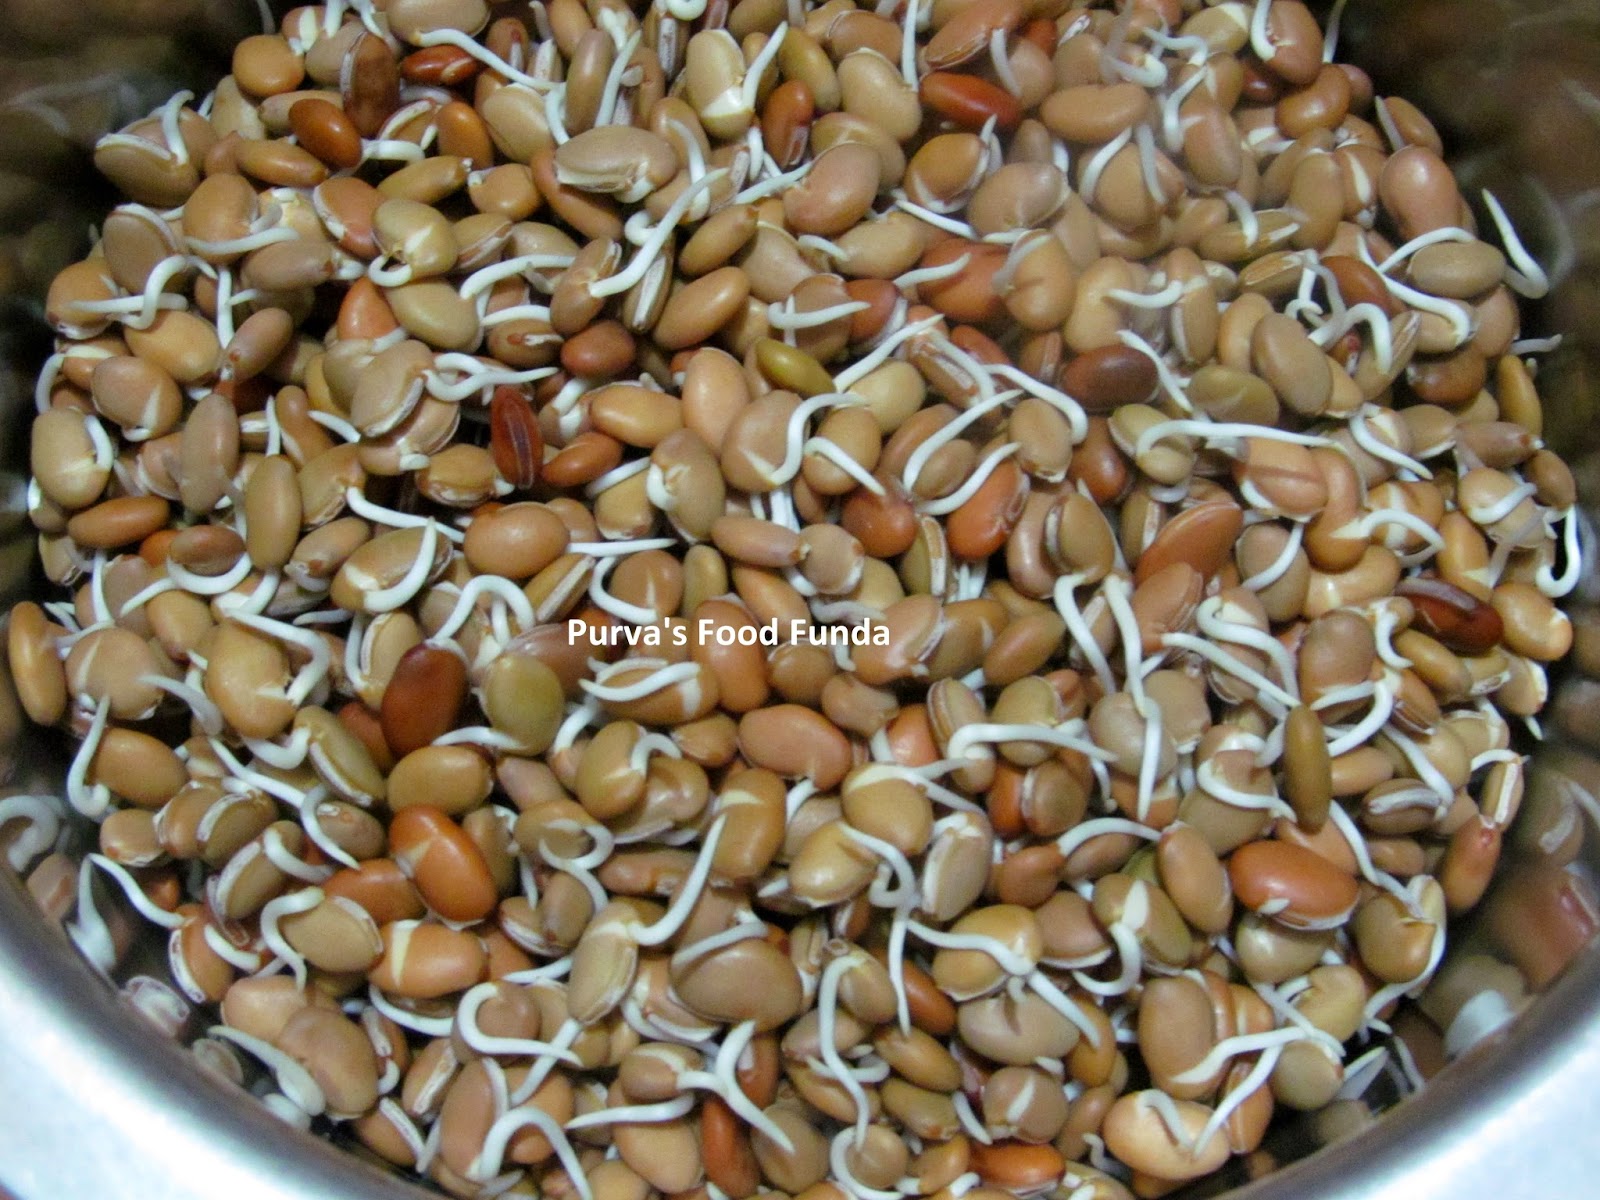
Val/field beans have thick skin as compared to other beans, so they take more time to soak as well as to sprout. It takes around 3 days for the vaal to sprout.
How to sprout val (field) beans ?
Wash and soak field beans overnight or for at least 10 hours in double quantity of water.
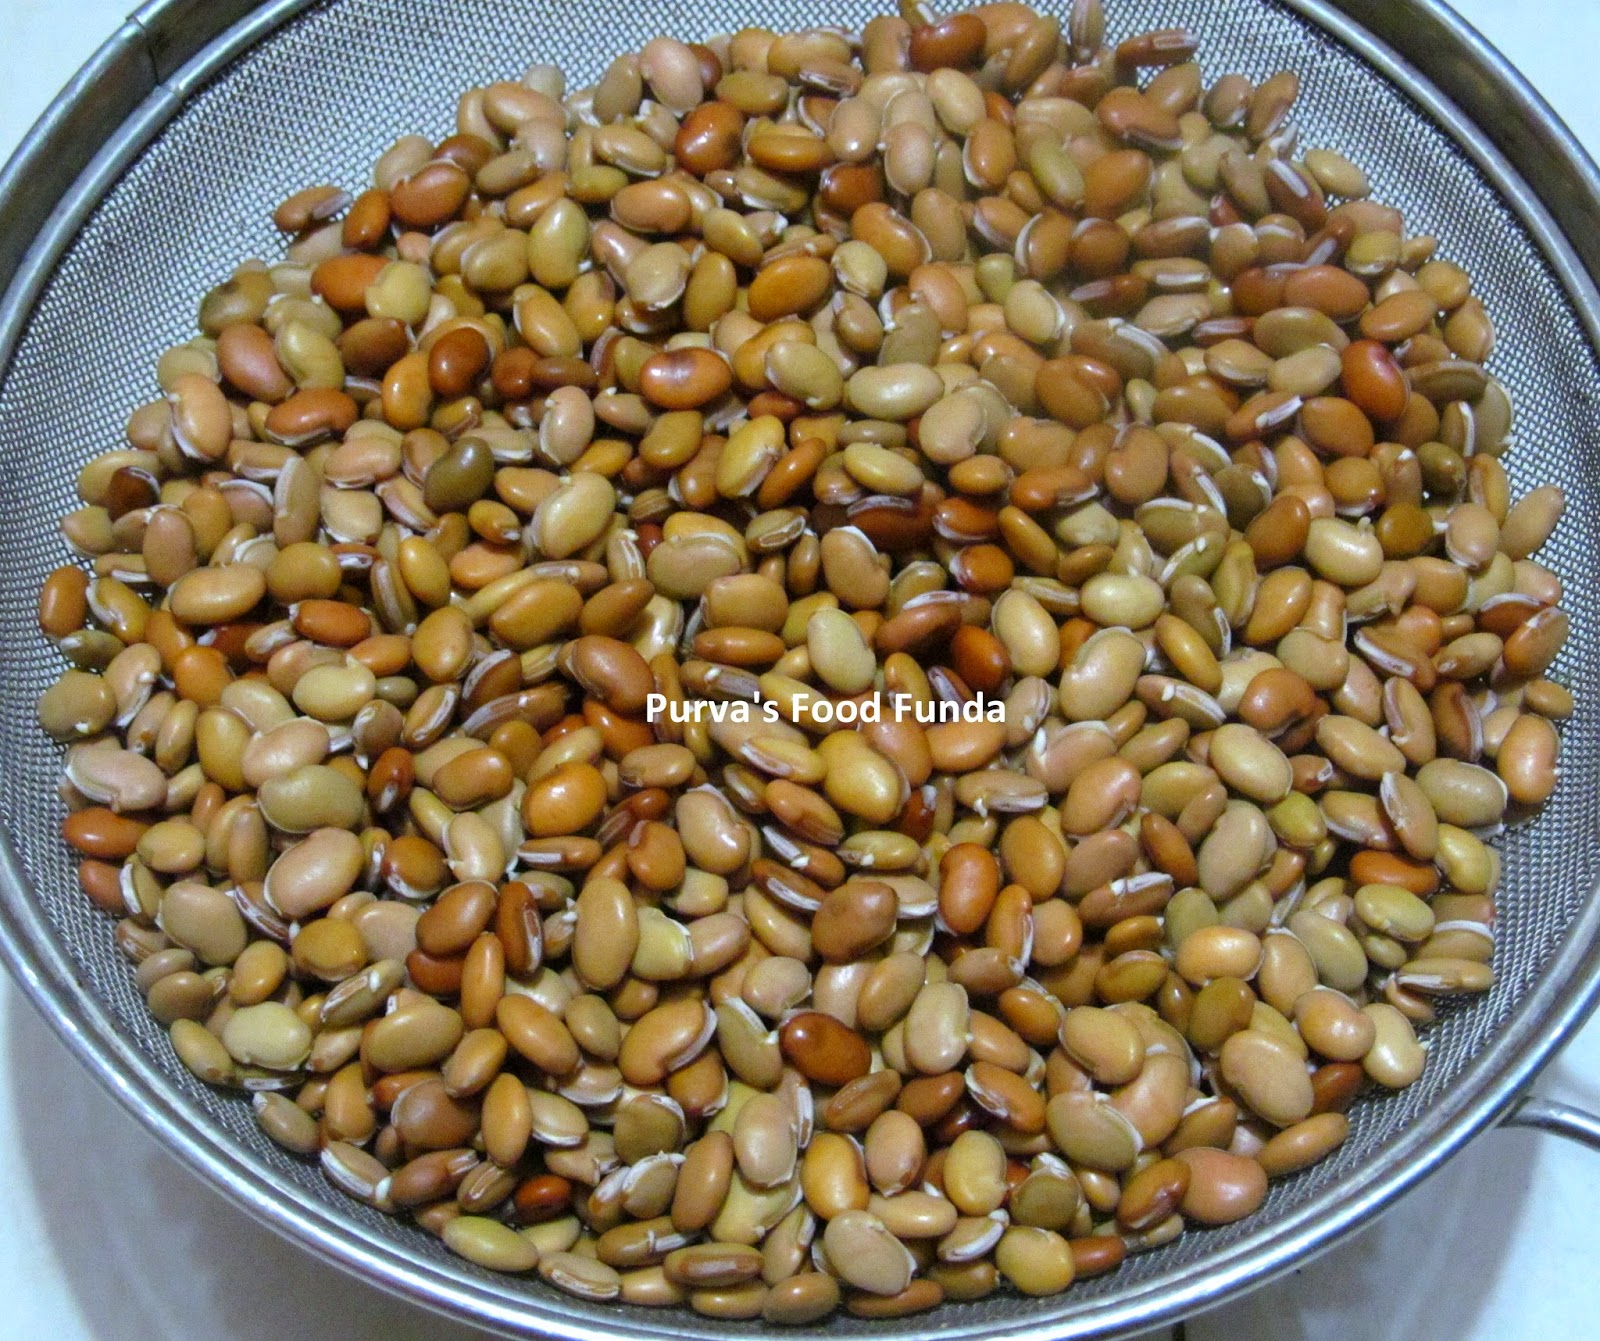
They would soak water and would swell. Drain the water in the morning. Wash again in the running water and drain again. Thus they they don't become sticky.
Wrap in a thin cotton cloth or muslin cloth and keep them in a large bowl and cover it with lid.
Place it in a warm place to sprout. It would take around 16 to 20 hours depends upon weather. If there is cold weather, then would take more time and there is hot weather, then would take less time. Due to the warming the sprouts come out nicely. The val have bigger sprouts now.
Pour plenty of lukewarm water on the sprouted beans and keep aside for minimum 30 minutes.This would get moisturize to the beans and peeling off the skin would be easy.
By using the thumb and the index finger press the bean lightly to take out the bean, which will automatically peel off the skin. Take care to keep the sprout intact. This way peel off all the val beans and keep these white peeled val beans in the bowl. After removing the skin, val beans are ready to be used for cooking.
How to know that val beans cook properly?
If you press the kernel by finger, it mashes means val are cooked properly. They should not look like mash lentils (dal). They should not mash/break due to just stirring in the curry with spoon.
So here's some recipes using sprouted val: (click on recipe name to get recipe)
You can't belive, but Tender, young plants of val beans are also used for curry. These plants available in only monsoon. We can grow also in a tray at home. How to make curry?
Field beans are small and relatives of Broad Beans. It's botanical name is Dolichos lablab. They are found and popular in mostly western-southern part of India. They are rich in protein as well as vitamins A, B-complex, C and E, as well as various minerals and enzymes.
They are available in different types like 'Kadave val', 'Gode val', 'Surati val', 'Pavta' etc. You can use any type of this which is available at your place. We use 'kadave val' which is easily available in my place. My place (Pen-Maharastra) is famous for this 'Kadave val'. Kadve val are considered to be superior in quality and taste and are mainly used for making birde.
These are pods of val and fresh tender val beans. val beans are mostly use in dried form. but we also use these fresh beans for curry. This curry is also equally tasty. You may use fresh 'Pavta' beans for this curry.
Read this recipe.... Maharashtrian Mix vegetable Curry (click on recipe name to get recipe)
And these are dried val beans.....
Val has a delicate flavour that complements a wide variety of dishes. This beans are used commonly in Maharashtrian kitchens in traditional recipes like Valache Birde, Valachi khichadi, Dalimbichi Usal etc. Birade means sprouted val beans curry. It is made during important occasions and functions.
Val/field beans have thick skin as compared to other beans, so they take more time to soak as well as to sprout. It takes around 3 days for the vaal to sprout.
How to sprout val (field) beans ?
Wash and soak field beans overnight or for at least 10 hours in double quantity of water.
They would soak water and would swell. Drain the water in the morning. Wash again in the running water and drain again. Thus they they don't become sticky.
Wrap in a thin cotton cloth or muslin cloth and keep them in a large bowl and cover it with lid.
Place it in a warm place to sprout. It would take around 16 to 20 hours depends upon weather. If there is cold weather, then would take more time and there is hot weather, then would take less time. Due to the warming the sprouts come out nicely. The val have bigger sprouts now.
Pour plenty of lukewarm water on the sprouted beans and keep aside for minimum 30 minutes.This would get moisturize to the beans and peeling off the skin would be easy.
By using the thumb and the index finger press the bean lightly to take out the bean, which will automatically peel off the skin. Take care to keep the sprout intact. This way peel off all the val beans and keep these white peeled val beans in the bowl. After removing the skin, val beans are ready to be used for cooking.
Though the preparation looks lengthy and tedious but the actual making of the recipe is easy and the final taste is worth it.
Notes:
- Eating more amount of val beans, you may suffer from acidity and gas trouble.
- Due to over cooking of val beans, the taste would ruin and partially cooked val beans are difficult to digest. Experience gives you perfection.
How to know that val beans cook properly?
If you press the kernel by finger, it mashes means val are cooked properly. They should not look like mash lentils (dal). They should not mash/break due to just stirring in the curry with spoon.
So here's some recipes using sprouted val: (click on recipe name to get recipe)
- Valache Birde ( Kokani Style Sprouted Val Beans Curry)
- Valachi Khichadi /Dalimbyacha Bhat (Val beans Pulao)
- Kantolichi Bhaji (Spicy Stir-fry Kantola / Indian or Spine Gourd)
- Phanasachi Bhaji With Val Be ं 4ans (Raw Or Young Jackfruit Dry Curry)
- Dindyachi Bhaji (Wild vegetable 'Dinde')
- Dalimbichi Usal-Recipe is coming soon.
We have some recipes in which we use 'val' or 'pavta' beans without sprouting them. (click on recipe name to get recipe)
- Pavatyachi Aamati - Recipe is coming soon.
- Bharangichi Bhaji (Spicy Clerodendrum Serratum Stir-fry)
You can't belive, but Tender, young plants of val beans are also used for curry. These plants available in only monsoon. We can grow also in a tray at home. How to make curry?
